
10 Inspiring Viking Village LEGO MOCs: Ideas, Tips and Instructions
The Allure of a Viking Village
Imagine standing on a windswept fjord, the scent of salt and pine in the air, as timber-clad longhouses cluster around a stone-built mead hall. In the flickering glow of torchlight, miniature LEGO Vikings gather to feast, trade, and prepare for epic voyages across icy seas. Building a Viking Village with LEGO lets you capture this rugged world, blending architecture, landscape, and storytelling in a single diorama.
A well-crafted Viking Village brings together key elements: the communal mead hall, where warriors share tales; sturdy longhouses for families; bustling docks with longships moored against carved-rock foundations; and agricultural outposts that attest to daily life in Norse society. Layer in details like animal pens, bustling market stalls, and hidden caves for treasure—and your village becomes a living scene, rich in narrative potential.
Beyond aesthetics, a Viking Village is a modular playground. You can expand it with hideouts perched atop cliffs, blacksmith forges hammering out weapons, and serpentine rock formations named in ancient sagas. Whether you favor micro-scale vignettes or minifigure-scale epic scenes, the Viking theme invites experimentation with building techniques—from angled SNOT landscapes to textured roofing and weathered color palettes. Let your creativity run wild as you weave your own stories of daring raids, peaceful harvests, and midnight feasts under the aurora borealis.
Tips for Building Your LEGO Viking Village
-
Choose a Cohesive Palette: Stick to earthy tones—reddish-brown, Dark Tan, Dark Bluish Gray, and Olive Green—to evoke wooden structures and rocky terrain.
-
Modular Design: Build in repeatable modules (e.g., longhouse, dock segment, market stall) that connect seamlessly. This lets you rearrange layouts and expand over time.
-
Texture & SNOT Techniques: Use inverted plates and grille tiles for rocky shorelines. Incorporate small round tiles and cheese slopes for moss and weathering.
-
Roofing Details: Layer slopes and inverted tiles at staggered heights to mimic thatched or timber roofs. Accent with Dark Red or Brown to suggest tar-treated wood.
-
Water & Landscape: Create waterways with trans-blue tiles and plates. Frame them with slopes and hinged bricks for organic shorelines.
-
Minifigure Interaction: Include accessories—shields on walls, cooking spits in yards, animal pens with goats or sheep—to add life.
-
Story Elements: Hide runic carvings or treasure chests in rock outcrops. Build watchtowers with rope-ladder access for dramatic flair.
Viking Village MOC Showcase
Model: Viking Village Big Expansion
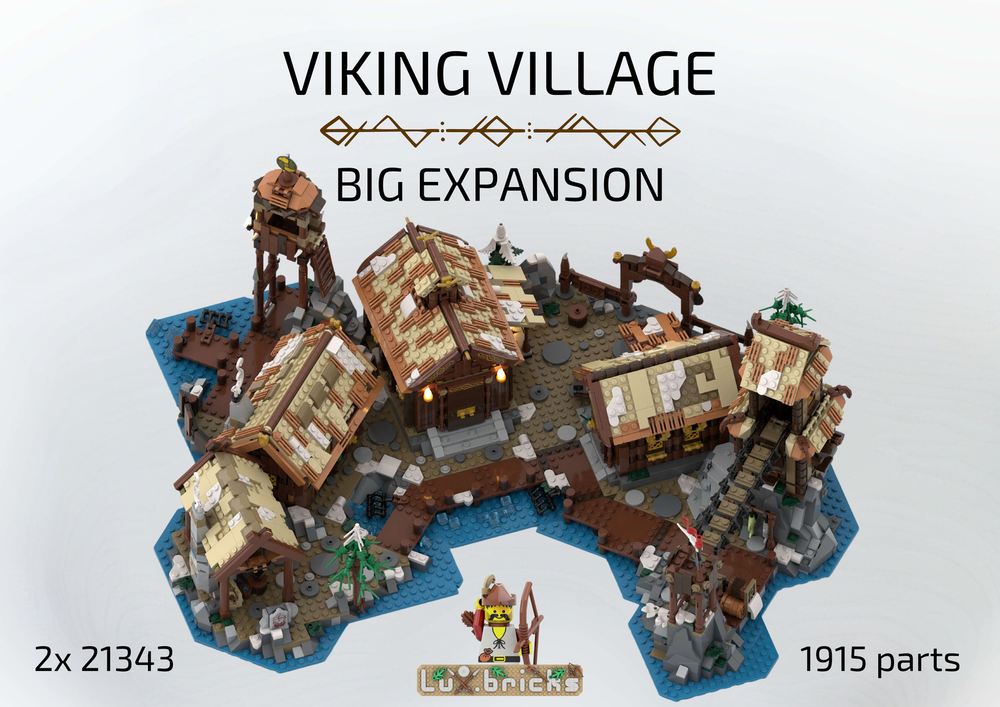
Designer: lux.bricks
Get the instructions with the link to the model: Model: Viking Village Big Expansion
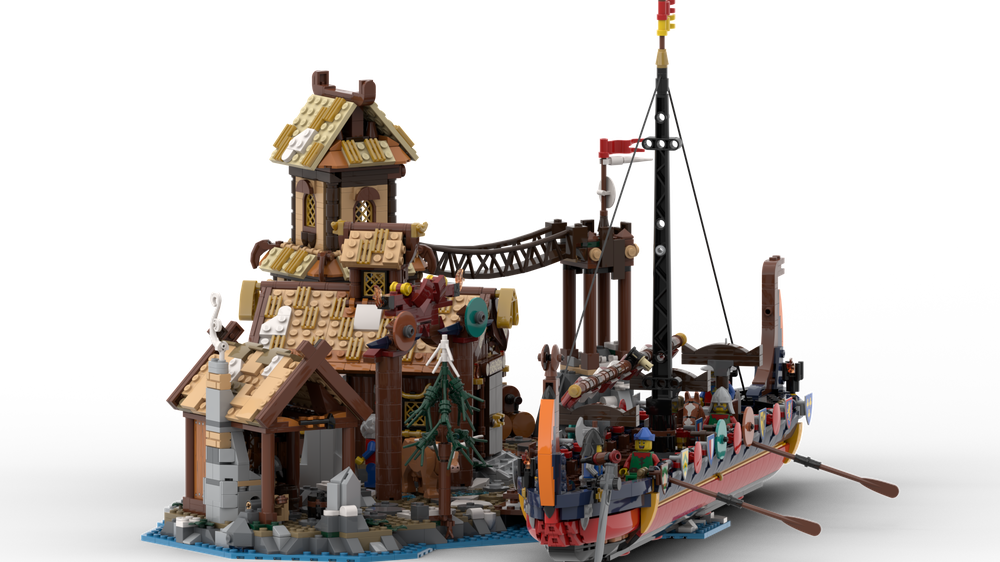
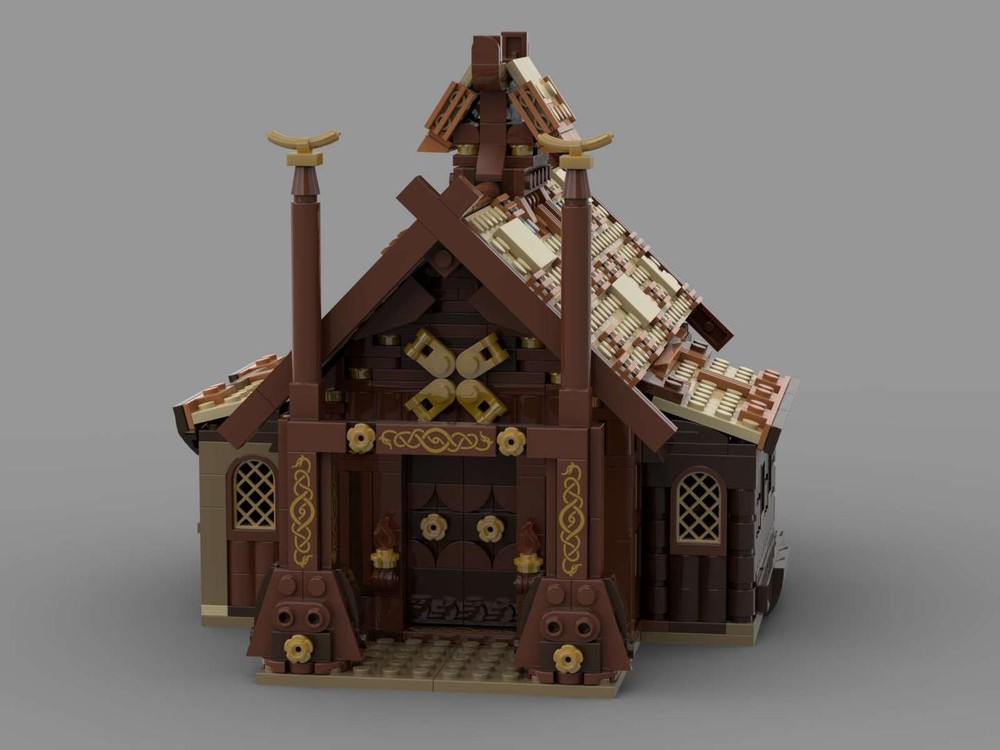
Model: Viking Port House

Designer: Gr33tje13
Get the instructions with the link to the model: Model: Viking Port House
Model: Viking Village Harbour Extension
Designer: Kuki
Get the instructions with the link to the model: Model: Viking Village Harbour Extension
Model: Viking Farm
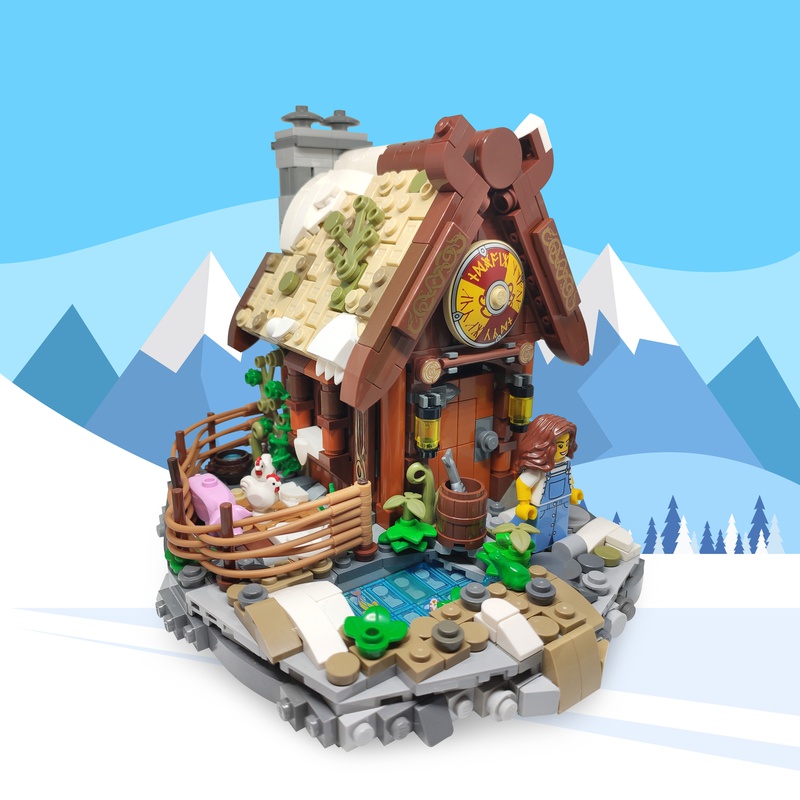
Designer: B_rickwall
Get the instructions with the link to the model: Model: Viking Farm
Model: Viking Village – Seaside Expansion
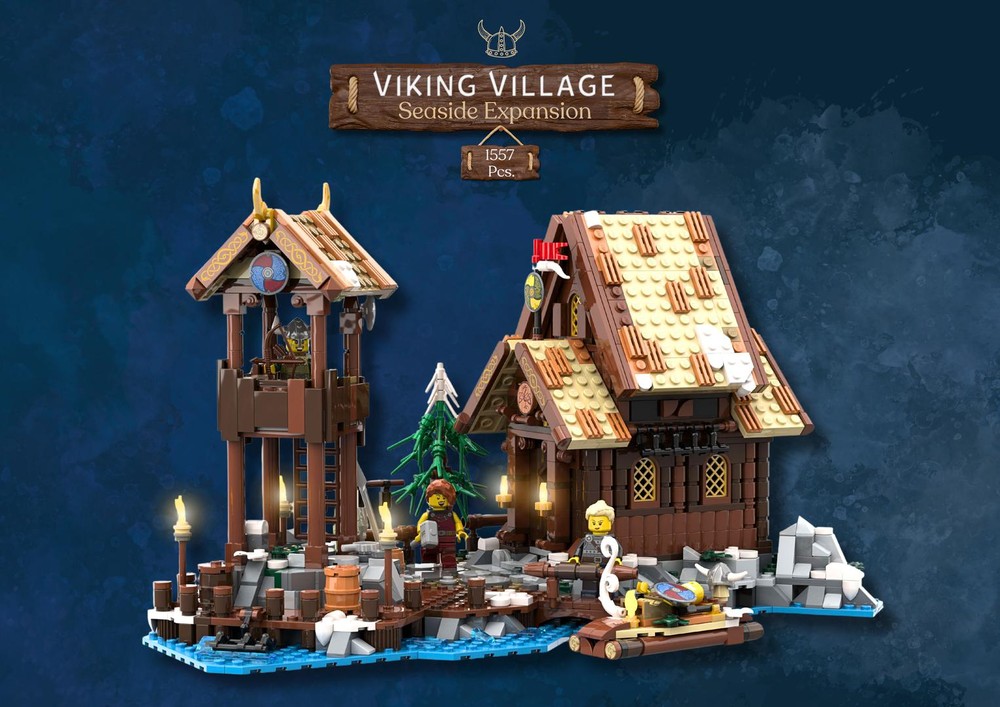
Designer: lux.bricks
Get the instructions with the link to the model: Model: Viking Village - Seaside Expansion
Model: Viking Longhouse
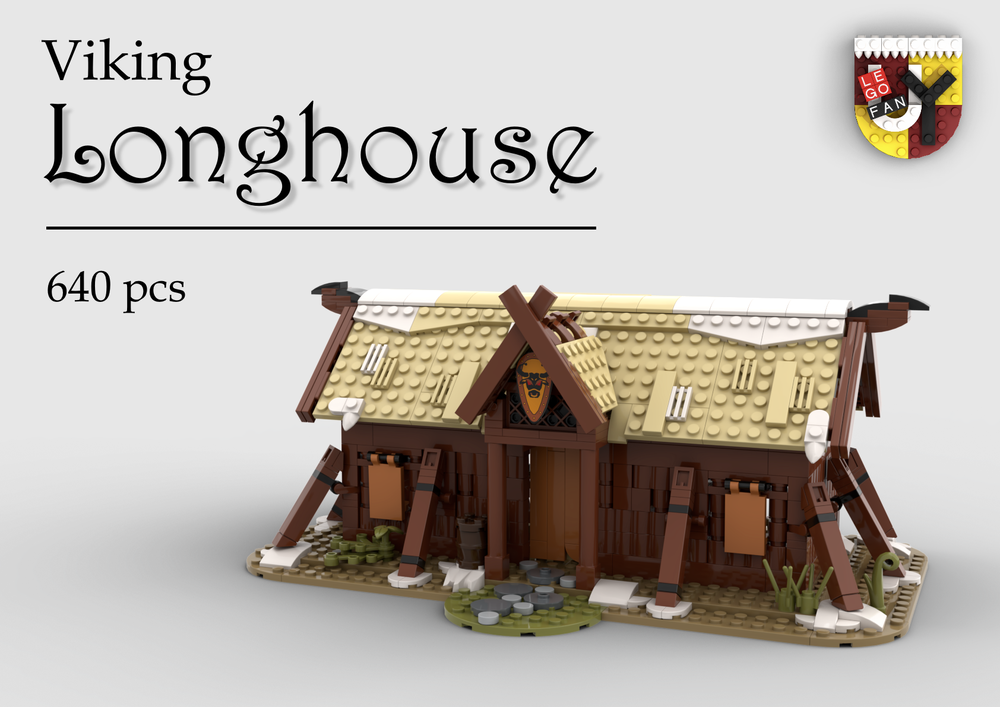
Designer: bricks_fan_uy
Get the instructions with the link to the model: Model: Viking Longhouse
Model: Viking Village Reuse Extension II – Serpents Point
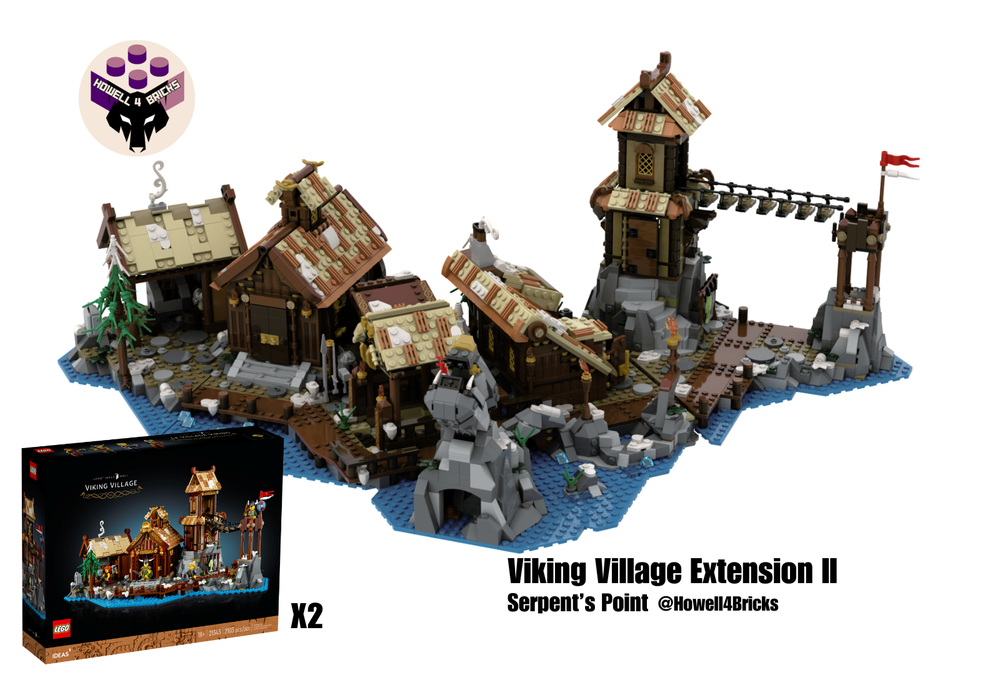
Designer: howell4Bricks
Get the instructions with the link to the model: Model: Viking Village Reuse Extension II Serpents Point
Model: Viking Mead Hall
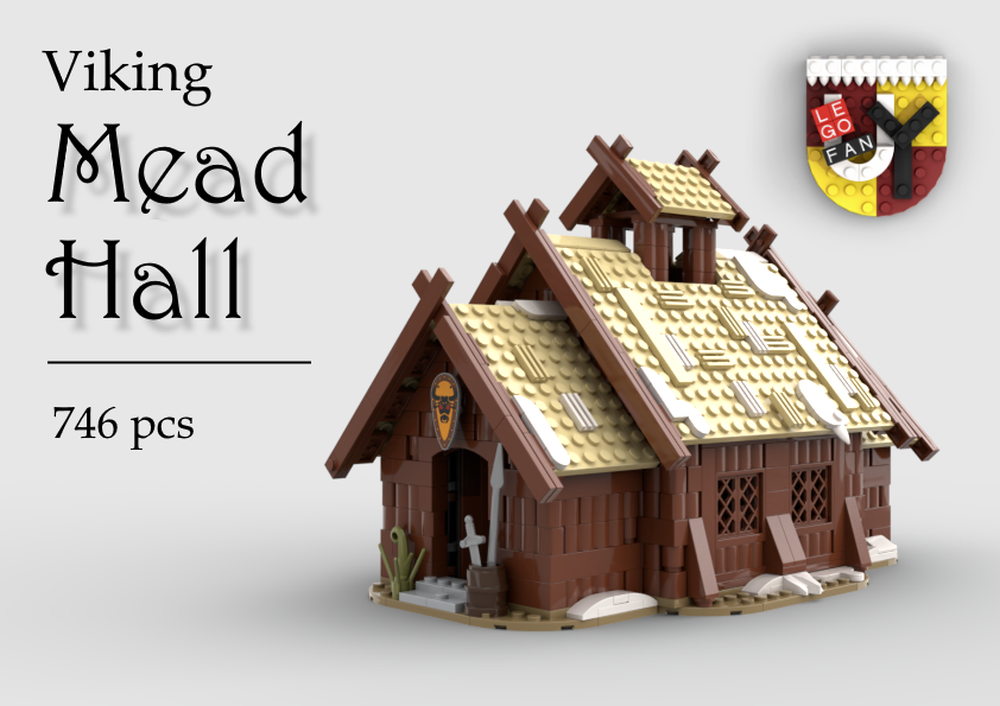
Designer: bricks_fan_uy
Get the instructions with the link to the model: Model: Viking Mead Hall
Model: Viking Village Expansion 3 – 21343
Designer: QuickBrickNick
Get the instructions with the link to the model: Model: Viking Village Expansion 3 21343
Model: Meduseld from Lord of The Rings
Designer: zxql
Get the instructions with the link to the model: Model: Meduseld from Lord of The Rings

