SNOT (Studs Not On Top): The Sideways Superpower Every LEGO® Builder Should Know
If you’ve ever wondered how builders achieve silky-smooth car doors, seamless rock faces, or perfect lettering that reads cleanly across a wall of bricks—welcome to SNOT: Studs Not On Top. SNOT is the umbrella term for any technique that orients studs to the side (or occasionally downward) instead of the traditional up-facing direction. Doing this unlocks a different “axis” for detailing, lets you plate over studs for clean surfaces, and makes shapes that would otherwise be impossible within the standard grid. In short: once you “go sideways,” huge parts of the LEGO design space open up.
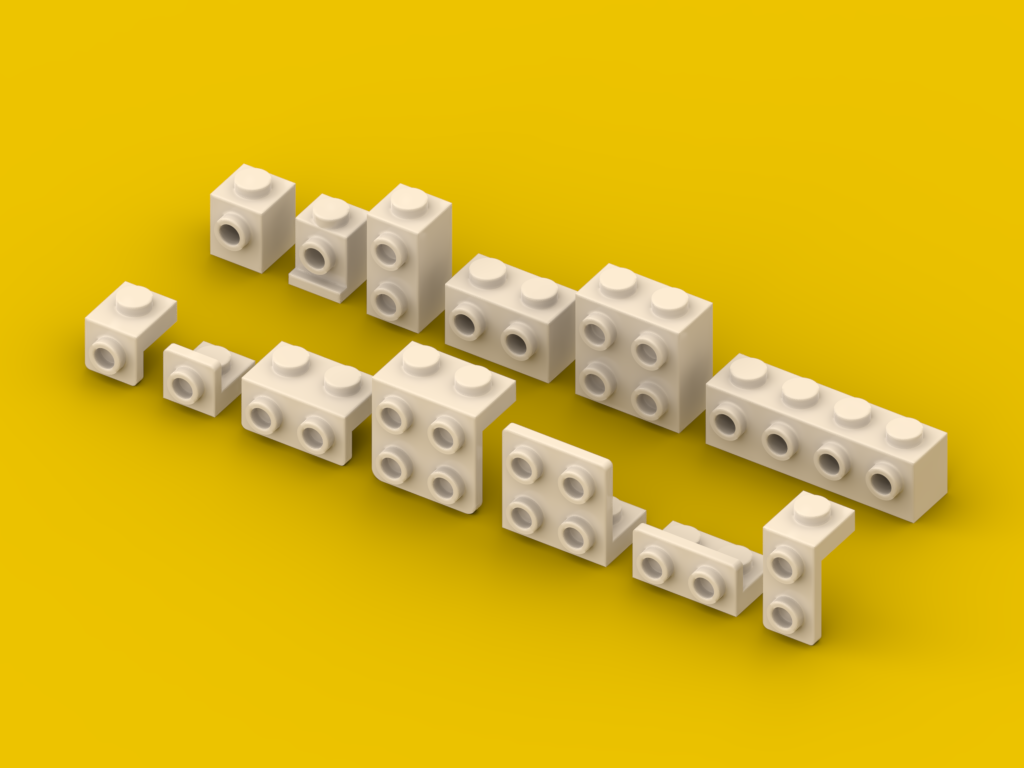
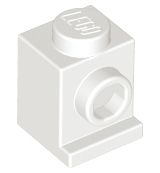
At the core of SNOT are a handful of specialized parts that redirect studs horizontally or invert them entirely. The classic “headlight brick” (4070) dates back to the early 1980s and remains a workhorse for attaching tiles and plates sideways with a ½-plate inset that’s super handy for flush surfaces. Later, families of brackets (e.g., 99207 and 99781) made SNOT sturdier and more compact, while stud-on-side bricks like 87087 and taller variants (e.g., 22885 or 32952) gave builders more options for layering textures and “offset math” to keep everything in system. Jumpers (3794/15573) are the glue that makes the geometry line up: that extra ½-stud shift is often the difference between a panel that sits flush and one that collides. For a deeper dive into what SNOT is, how the geometry works, and common pitfalls (like tolerance clashes and ½-plate offsets), BrickNerd’s SNOT articles are excellent primers.
Beyond the parts, SNOT is a mindset. Think of your model as a set of perpendicular canvases: front, back, left, right, top, and bottom. Each face can host detail—greebles on a spaceship hull, signage on a modular façade, or sculpted curves on a fender—without the “studs up” look. Modern sets and fan builds lean on this constantly; New Elementary has even spotlighted new SNOT-friendly elements and how they change what’s possible in official themes like Speed Champions. Meanwhile, Brick Architect keeps a running catalogue of SNOT-enabling parts so you can pick the right tool for your next sideways job.
If you want to study SNOT in action, look at real MOCs that lean on it: SNOT mosaics and signage, microscale buildings whose fences and pools depend on sideways tiles, rocky bases made entirely with sideways textures, or novelty “SNOT a grille” vehicles that use SNOT to shape intakes. Browsing MOC pages is great for reverse-engineering how builders handle offsets, layer strength, and connection points.
Tips for Using SNOT (and Keeping It Strong)
-
Plan your geometry. Count plates, not just bricks. A vertical 1-brick height equals 3 plates; combine that with jumpers (½-stud) and brackets (⅔-brick) to keep faces level and flush. BrickNerd’s geometry overview is gold here.
-
Favor brackets for structure. Where possible, anchor SNOT panels with 99207/99781 brackets—they distribute stress and resist shear better than stacks of headlight bricks.
-
Use headlight bricks for fine detailing. 4070’s built-in ½-plate recess is perfect for inlays, grille slats, and tight signage.
-
Mind tolerances. Some side-to-bottom combos that “fit” in CAD are too tight in real life. If a connection feels forced, redesign the stack with jumpers or a different bracket.
-
Hide your anchors. Build a SNOT “spine” behind the scene, then tile over the visible face. You’ll get strength and a clean look.
-
Test small, then scale. Prototype a 6×6 patch of texture/signage first. If it’s rigid and flush, clone it across the model.
MOC Ideas that Really Shine with SNOT
-
Smooth vehicles. Curved fenders, layered bumpers, sideways tiles for door skins, SNOT grilles and lights. (Search Speed Champions MOCs for inspiration.)
-
Architecture façades & signage. Bold lettering, shopfronts, cornices, window frames built sideways for razor-clean lines. SNOT mosaics/logos are a great study case.
-
Microscale scenes. Side-mounted tiles become fences, walkways, or pool water at tiny scales.
-
Terrain & rockwork. Rotate plates for stratified rock; use brackets to step and stagger layers on a solid SNOT base.
-
Spaceship hull greebles. Layer panels, vents, and ridges side-on for that classic “greebly” texture.
-
Game props & icons. Pixel-style swords, shields, or crests built as thick, side-facing mosaics hold their shapes well.
-
Storefront marquees & cinema signs. Overhanging, sideways-built lettering and light strips look fantastic in mini-modulars.
-
Headlight Brick (4070)
Part 4070. (BrickLink) -
Brick, Modified 1×1 with Stud on Side (87087)
Part 87087. (BrickLink) -
Brick, Modified 1×2×1⅔ with Studs on Side (22885)
Part 22885. (BrickLink) -
Bracket 1×2–2×2 Inverted (99207)

Part 99207. (BrickLink) -
Bracket 1×2–1×2 (99781)

Part 99781. (BrickLink) -
Jumper Plate 1×2 (3794/15573)
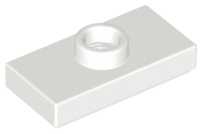
Part 15573. (BrickLink)
Closing Thoughts
SNOT isn’t just a trick—it’s a language. Master a few cornerstone parts (headlights, brackets, stud-on-side bricks, jumpers), learn the offsets, and you’ll start seeing “buildable” surfaces everywhere. Whether you’re smoothing a supercar, skinning a spaceship, or lettering a shop sign, SNOT turns a pile of plates and tiles into tailored panels that click into place like a custom suit. When in doubt, prototype a small panel, check it for strength and flushness, then scale up. Sideways is where the magic happens.
Disclaimer: This article was created with the assistance of AI. While efforts have been made to ensure accuracy and originality, the content may include automatically generated text and should be considered as informational only.

