LEGO Vacuum Engine MOCs: Build Real “Engines” That Run on Air
Parts, timing, and instructions PDF tips—from mini turbines to inline-6 and V4-style builds
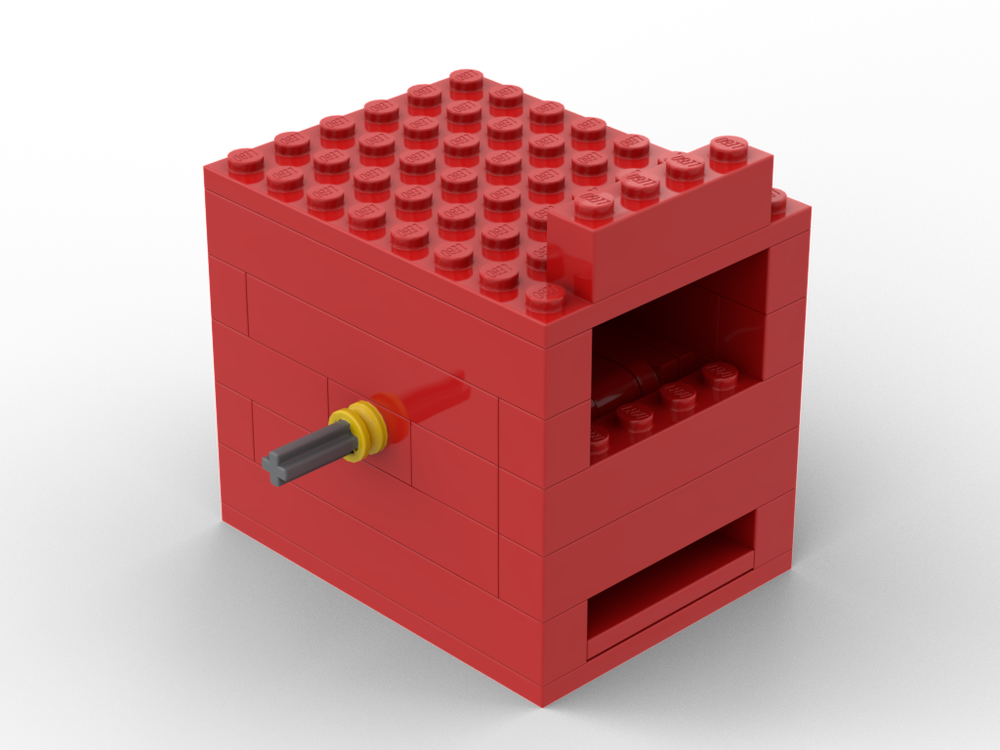
If you love Technic mechanisms and want a project that actually spins up without electronics, a LEGO vacuum engine is ridiculously satisfying. These builds convert airflow from a household vacuum into motion using pistons, valves, or turbines. When tuned well, they rev, idle, and even “blip” the throttle like a tiny workshop motor. In this guide, we’ll cover how they work, how to choose LEGO vacuum engine parts, what to watch for when your LEGO motor is not working, and where to find LEGO vacuum engine instructions PDF for a range of models—from mini vacuum engine starters to more advanced inline-4, inline-6, and even V-style concepts (yes, a LEGO V4 vacuum engine layout is possible if you mirror crank throws and valve timing correctly). We’ll also share ideas for connecting a vacuum engine with transmission to showcase gearing, dyno displays, and more.
How they work (quickly): Piston engines use a cam/valve to alternate suction across a cylinder. The vacuum pulls air through a port, the valve opens to create a pressure difference, and the piston/slider follows, turning a crank connected to a flywheel. Turbines are even simpler: airflow spins a rotor directly; add a throttle or a bleeding gate and you get very convincing engine-note changes.
Choosing parts & planning a parts list: Before you start, sketch your LEGO vacuum engine parts list. You’ll typically want smooth axles, bushes, connectors, rigid liftarms/frames, tiles for sealing surfaces, and a flywheel mass (tyre on a rim works). For turbines, prioritize tight rotor/volute alignment and rigid bracing. For piston engines, plan a sturdy crank (three-stud throw common), a valve cam with dependable lift, and a low-friction slider. If you’re building compact, aim for a LEGO mini vacuum engine first to learn timing and sealing—then scale up.
Tuning & troubleshooting (“LEGO motor not working” fixes):
-
Air seal is everything. Wrap a rubber tyre around the vacuum hose end to improve the seal to your engine inlet.
-
Valve timing: At piston BDC (lowest point) the intake valve should be at max lift (“open”) to pull air and start the return stroke. If your engine stalls, re-time by one tooth.
-
Friction & wear-in: Fresh builds can feel sticky. Run them gently for a few minutes; parts “bed in.” Add a plastic-safe lubricant (mineral oil/olive oil works; avoid aggressive sprays).
-
Leaks: Use tiles/plates to create flat valve seats and block stray holes. Any small leak robs RPM.
-
Flywheel & gearing: A little inertia helps smooth pulses. For turbines, too much flywheel can reduce peak RPM; for pistons, a modest flywheel often stabilizes idle.
-
Vacuum strength: Weak suction = no start. Strong suction + poor timing = chatter. Tune both.
Going further—vacuum engine with a transmission:
Add a simple 2- or 4-speed Technic gearbox after the crank or turbine output. Gear down to drive heavier displays (fans, alternator mock-ups) or up for a mini dyno needle. Use universal joints and a clutch gear to protect the drivetrain. If your turbine surges, isolate it from the gearbox with a small rubber belt or chain to soften torque pulses.
Tips for Building Your Own MOC (How-To)
-
Start small: Build a 1-cyl test mule first to master port seal and timing.
-
Square, rigid frames: Liftarm rectangles with triangulation keep cams aligned.
-
Precision cams: Use round bricks/cams with a single raised stud or offset pin for repeatable lift; mark TDC/BDC on the crank.
-
Seal the inlet: Tyre-to-hose coupling is the secret weapon for consistent RPM.
-
Use smooth interfaces: Tiles for valve faces, axles free of burrs, and fresh bushes reduce drag.
-
Document your own parts list: Even when you follow LEGO vacuum engine instructions PDF, note substitutions and preferred colours for easier rebuilds.
-
Safety & care: Keep hair/cords clear; don’t run unattended; store dry and clean.
Ideas for Models & Displays You Can Power
-
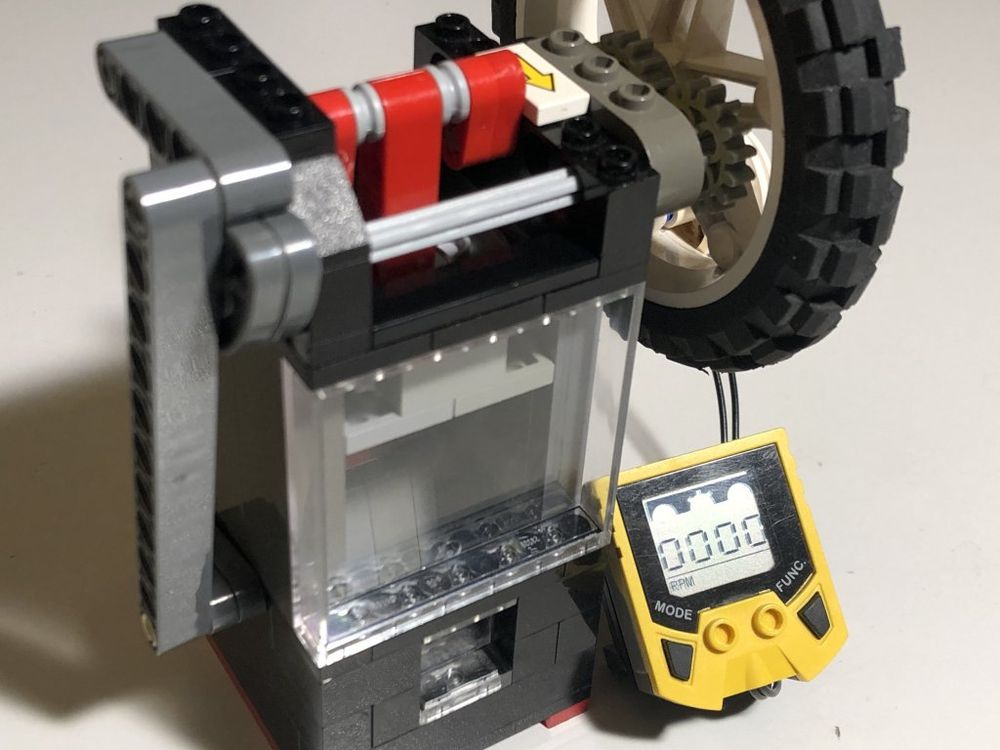
Bench dyno display: Gear the output to a large dial (speedometer/tach).
-
Sound lab: Turbine with a throttle flap to “rev” like a supercar.
-
Transmission demo: Inline-4 → 2-speed gearbox → fan prop—great STEM demo.
-
Accessory drive mock-up: Drive a faux alternator/compressor with belts.
-
Show stand: A compact LEGO mini vacuum engine on a labelled plinth for exhibitions.
-
Multi-cylinder experiment: Try an inline-4 or LEGO V4 vacuum engine by mirroring timing and using a shared manifold.
-
Twin-turbine fun: Split the vacuum with a Y-adapter; compare rotor designs.
Model Gallery & Instruction Links
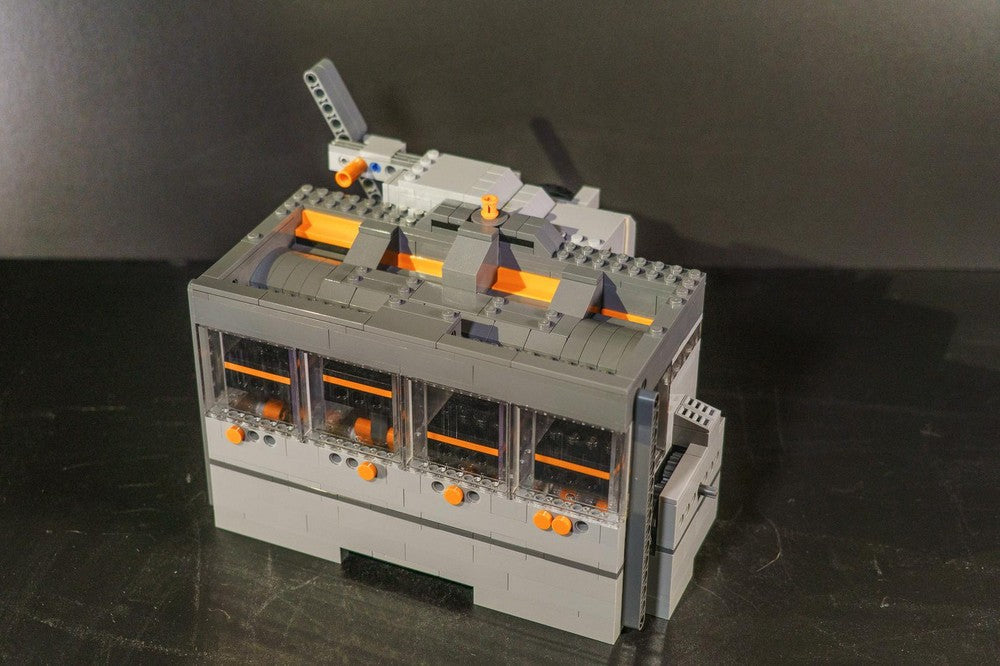
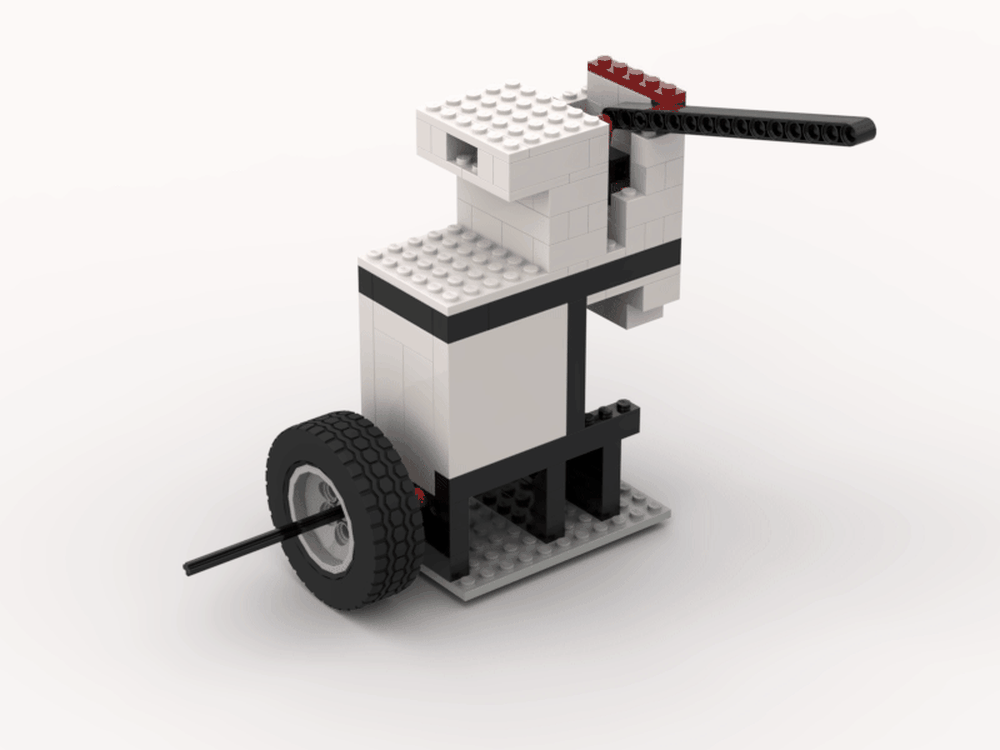
Vacuum Engine (Inline-4)

Designer: J.Mods.Bricks
Get the instructions: Model: Vacuum Engine (Inline-4) — Designer: J.Mods.Bricks.
Vacuum Engine (Inline-6)
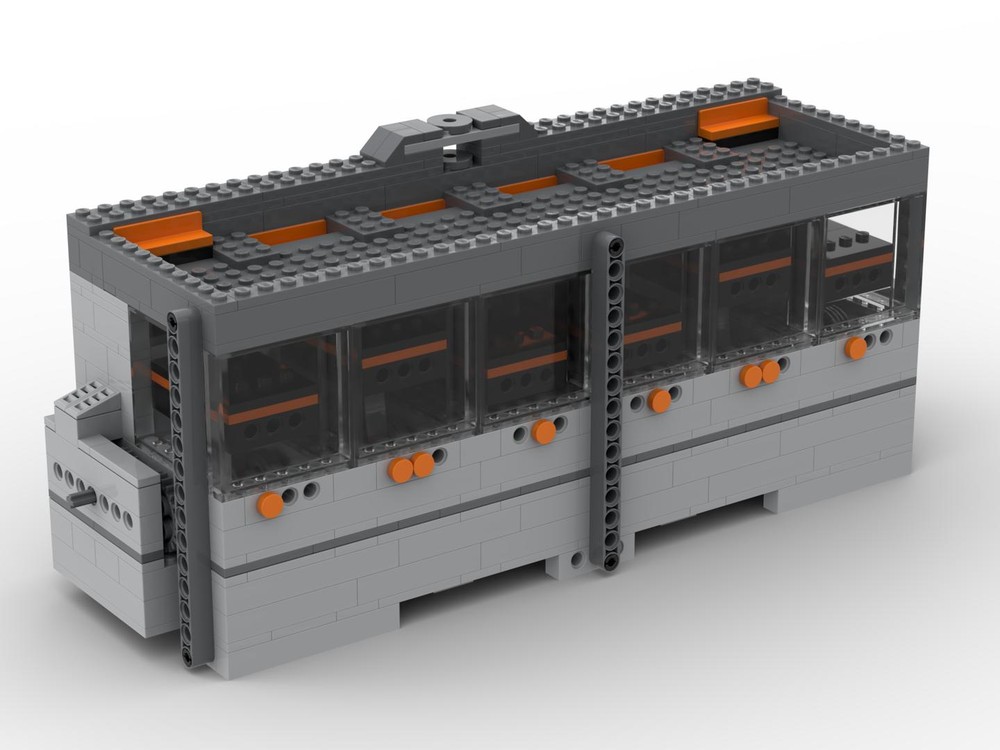
Designer: J.Mods.Bricks
Get the instructions: Model: Vacuum Engine (Inline-6) — Designer: J.Mods.Bricks.
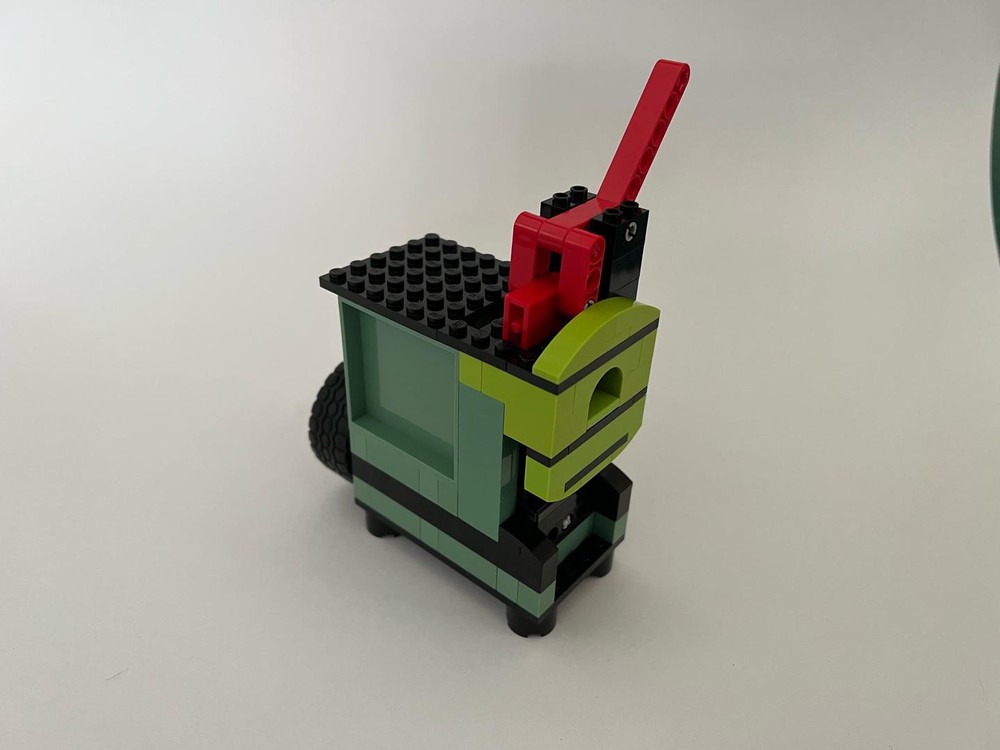
LFA Sounding Vacuum Turbine
Designer: Technic-brick designer
Get the instructions: Model: LFA sounding vacuum turbine — Designer: Technic-brick designer.
Supercharged Vacuum Turbine Engine
Designer: Bowensgarage
Get the instructions: Model: Supercharged Vacuum Turbine Engine — Designer: Bowensgarage.
Vacuum Engine (compact starter)
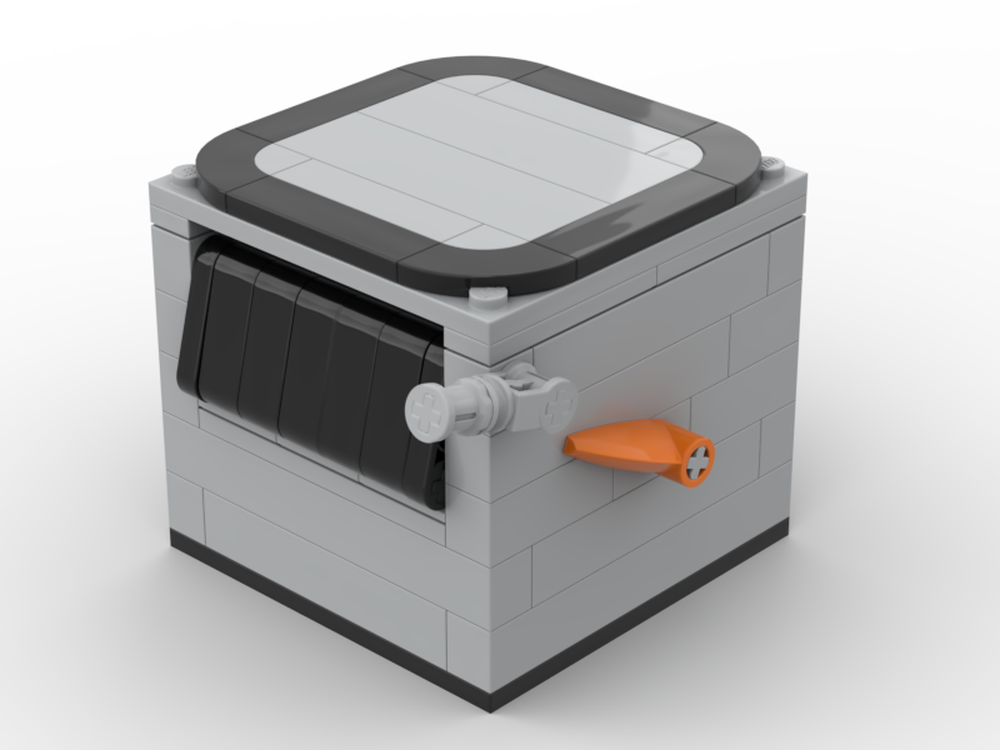
Designer: MasterCarBuilde
Get the instructions: Model: Vacuum engine — Designer: MasterCarBuilde.
Simple Single-Cylinder Vacuum Engine (Adjustable Timing)
Designer: NonsenseWars
Get the instructions: Model: Simple Single Cylinder Vacuum Engine with Adjustable Timing — Designer: NonsenseWars.
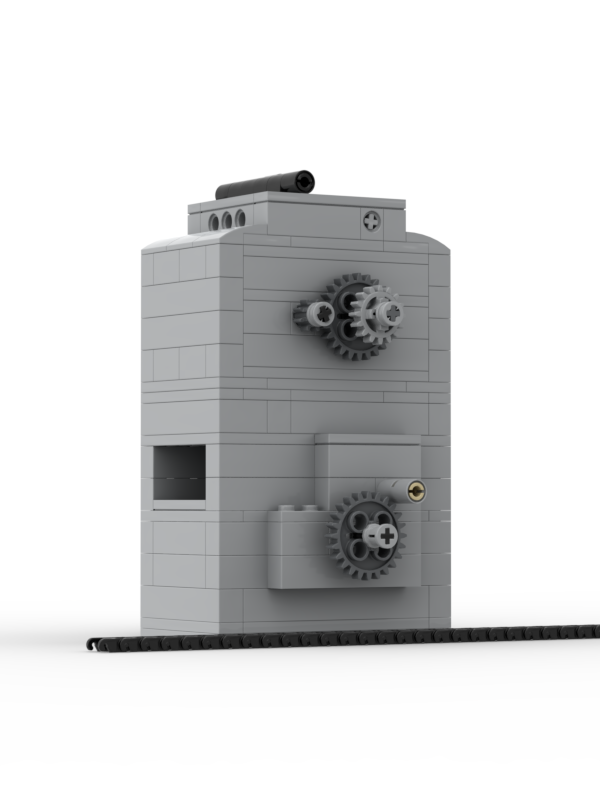
High-Performance 1-Cylinder Vacuum Engine
Designer: ZH BRICKS
Get the instructions: Model: high performance 1 cylinder vacuum engine — Designer: ZH BRICKS.
Vacuum Engine (Technic with Throttle)
Designer: TracksideTechnics
Get the instructions: Model: Vacuum Engine — Designer: TracksideTechnics.
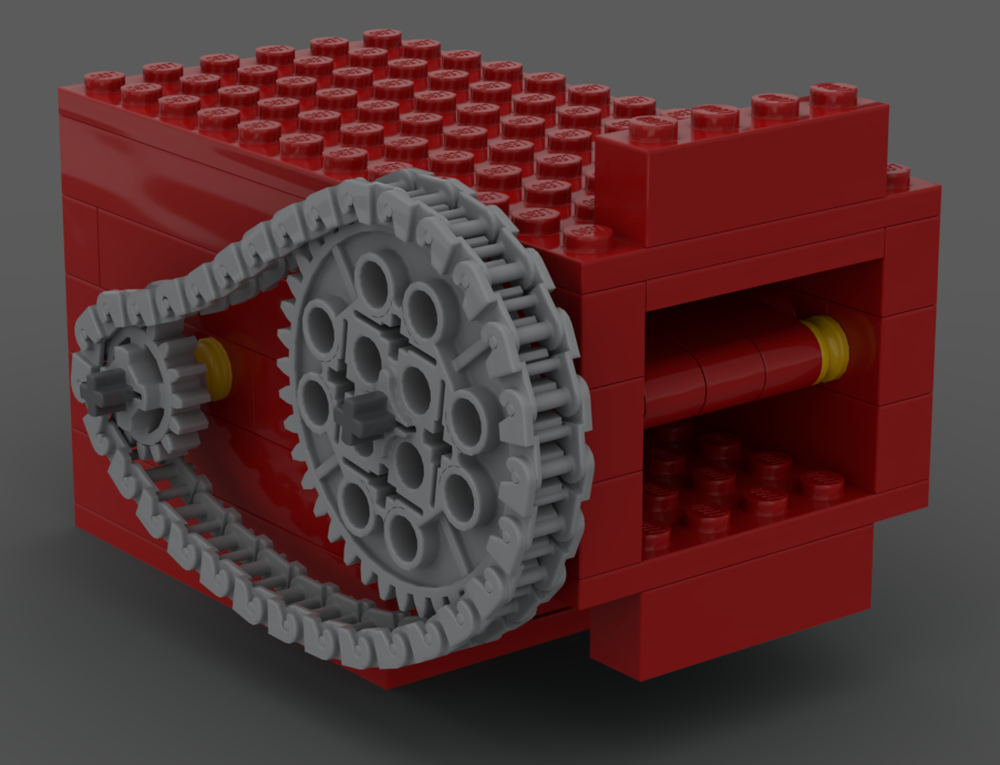
Vacuum Engine (Turbine)

Designer: Platex
Get the instructions: Model: Vacuum engine (turbine) — Designer: Platex.
High Torque & RPM Vacuum Turbine
Designer: Technic-brick designer
Get the instructions: Model: High torqe and RPM vacuum turbine — Designer: Technic-brick designer.
Quick Notes
-
Many models above provide free LEGO vacuum engine instructions PDF (see each MOC page); some are premium.
-
Use the inventory tab on each page to export a LEGO vacuum engine parts list and check substitutions.
-
If your build won’t start, re-check timing, seals, lubrication, and vacuum strength first.

