LEGO Gumball Machine MOCs: Smart Mechanisms, Build Tips, and 8 Awesome Models
From coin-free pushers to marble turrets—how to design a smooth LEGO candy machine (plus curated MOCs with images and instruction links)
If you grew up hypnotized by the swirl of bright gumballs behind glass, building a LEGO gumball machine is basically nostalgia with studs. It’s a perfect mini-engineering project: a compact mechanism, a visible “wow” moment when the candy drops, and tons of room for color and personality. In this guide, we’ll cover how to make a LEGO gumball machine—from choosing the right candy or balls to designing a jam-free mechanism—and end with a hand-picked gallery of models with images and links to full LEGO candy machine instructions. Whether you’re after a mini LEGO candy machine tutorial, a city-scale LEGO candy vending machine, or a showy display for your shop MOC, this walkthrough and curation will give you a head start.
At the heart of any good build is a reliable LEGO candy machine mechanism. Most machines use a rotating drum, sliding pusher, or gravity gate to dispense a single piece. The trick is controlling tolerances so one candy passes while the next is safely held back. If you’re using edible candy, stick to smooth, uniform pieces (small gumballs, round chocolates, marbles, or LEGO “candy” stand-ins like 1×1 round bricks/tiles). For real sweets, keep the interior smooth and clean—line chutes with new tiles and avoid exposed studs that can snag or crush soft candy. If you want a totally fuss-free demo, swap candy for marbles or 1×1 rounds that won’t leave residue.
Aesthetically, gumball machines love color. Think classic red base, chrome/pearl-silver highlights, and a transparent “globe.” Trans-clear panels, 6×6 domes, or a brick-built poly panel can sell the look. Because the mechanism is compact, even LEGO candy machine mini builds can be satisfying: a tiny slide plus a window is enough to delight. Larger models can add coin slots (real or faux), return trays, or even a motorized turn handle with a rubber-band return.
If you’re hunting a LEGO candy machine tutorial, look for builds that show the dispenser cavity clearly. Seeing how the “one-at-a-time” pocket is isolated will help you avoid jams. And if you want to get ambitious, combine a gumball module with signage—letter tiles spelling “CANDY,” a neon-style light brick, or a tiled floor pattern to frame it as a shop display. Below you’ll find curated models that span ultra-simple to eye-catching showpieces. Each entry includes a CDN image and a direct “Get the instructions” link, so you can go from inspiration to building instantly.
Build Tips (Mechanism-First)
-
Size your “candy.” Keep pieces consistent. For edible candy or marbles, design your pocket so exactly one fits with ~0.5–1 plate clearance. For LEGO “candy,” 1×1 rounds/pearls are great.
-
Favor smooth contact. Line chutes with tiles; hide studs using SNOT so the candy glides. If something sticks, widen by one plate or add a 1×2 curved slope as a lead-in.
-
Positive stops beat friction. Use hard stops (axle-through-liftarm, technic brick shoulders) to define the handle’s end points; don’t rely on friction to limit travel.
-
Gate the queue. A tiny ridge or half-stud offset prevents the next candy entering the dispense pocket too early.
-
Reset cleanly. Rubber bands or a small spring return give you that crisp, “click-back” feel on the handle.
-
Make it serviceable. Pin the top or back with a few blue 3L pins so you can pop it off to clear jams or refill quickly.
-
Color for clarity. Use one bright color for the mechanism and another for the shell—easy debugging while prototyping.
-
Test with 20–30 cycles. Consistency matters more than looks; tweak pocket depth, slope angles, and stops until it never double-feeds.
Fun Model Ideas to Build Around It
-
Arcade Corner: Drop your machine next to a claw game and pinball MOCs; add a tiled floor pattern and a change machine façade.
-
City Sweet Shop: Window display with stacked jars, striped awning, and a counter where your gumball machine sits as the star.
-
Fairground Booth: Pair with a ticket stand and a micro carousel—great for festival scenes.
-
Winter Village Twist: Swap colors to red/white with a wreath tile for holiday vibes.
-
Tech Upgrade: Motorize the turn with Powered Up; add a limit-switch style stop so it dispenses exactly once per rotation.
-
Mini Desktop Build: A palm-sized dispenser using just a handful of parts—perfect “desk toy” MOC.
Curated Models (Images + Instruction Links)
Gumball Machines
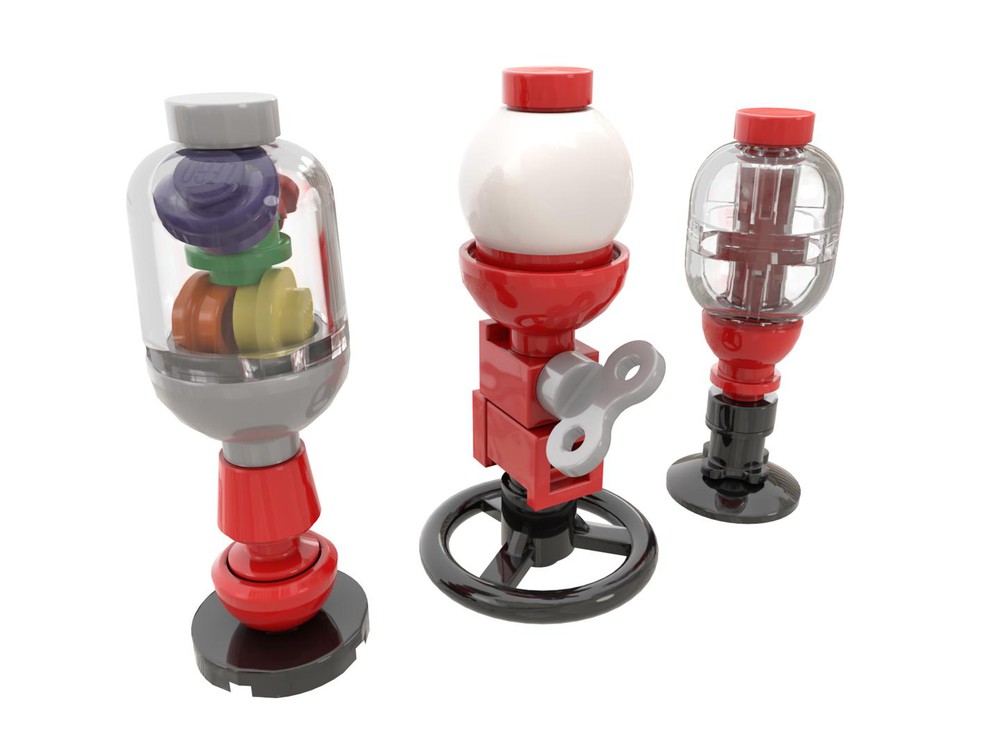
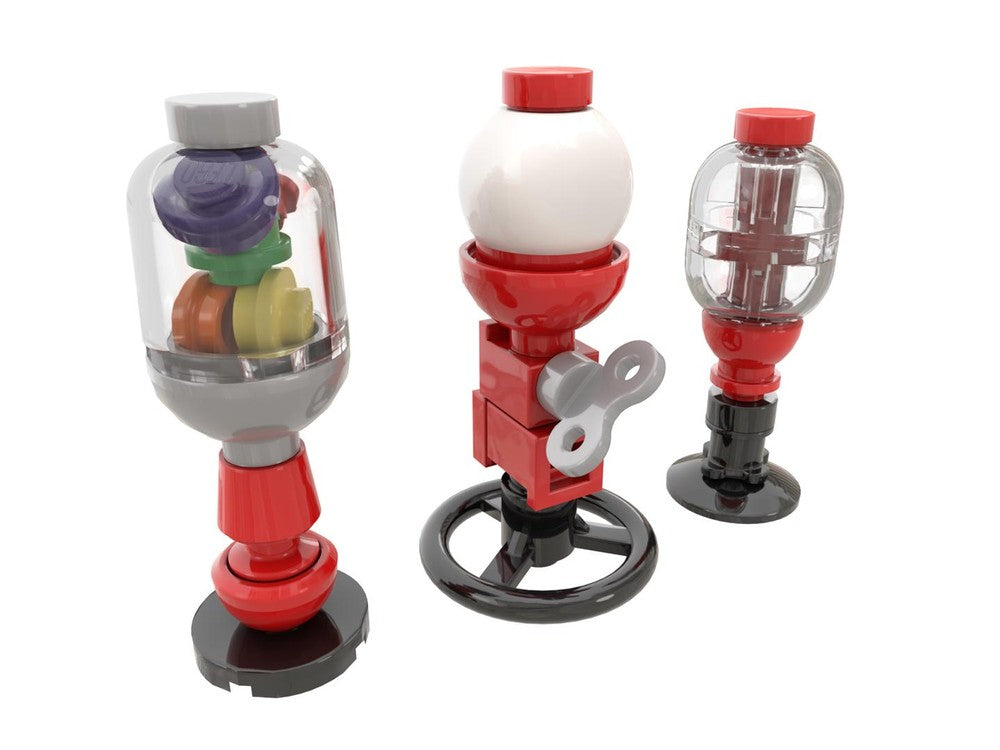
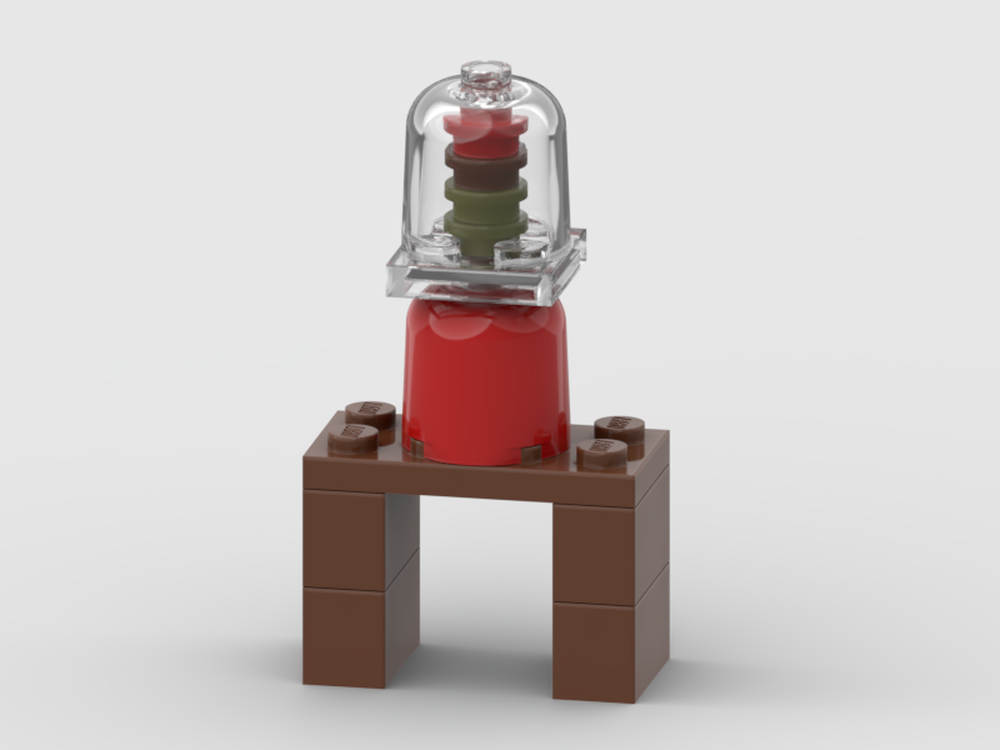
Designer: Thomus_Bean
Get the instructions: Gumball Machines by Thomus_Bean
Lego gumball machines
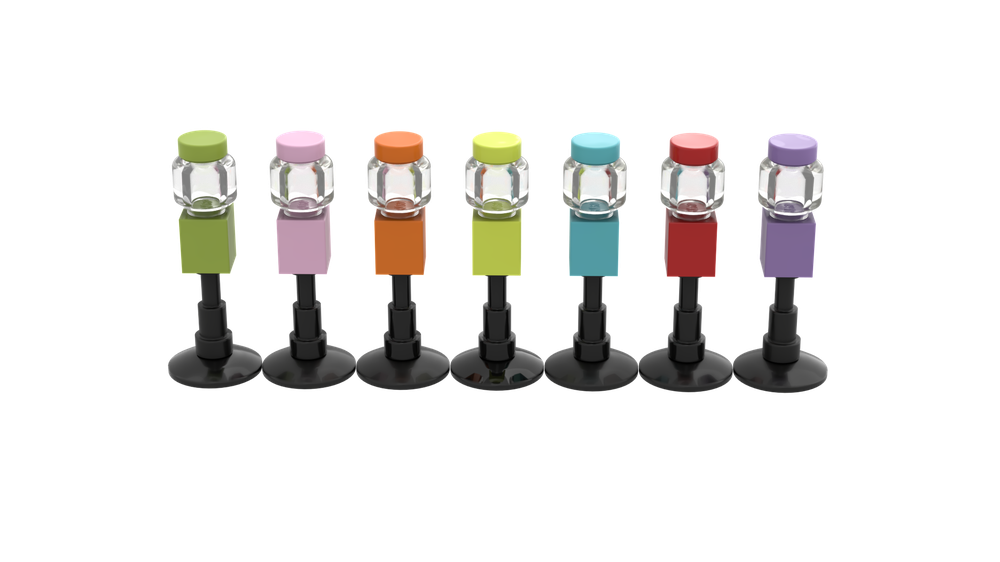
Designer: Tom designs
Get the instructions: Lego gumball machines by Tom designs
Yellow Gumball Machine
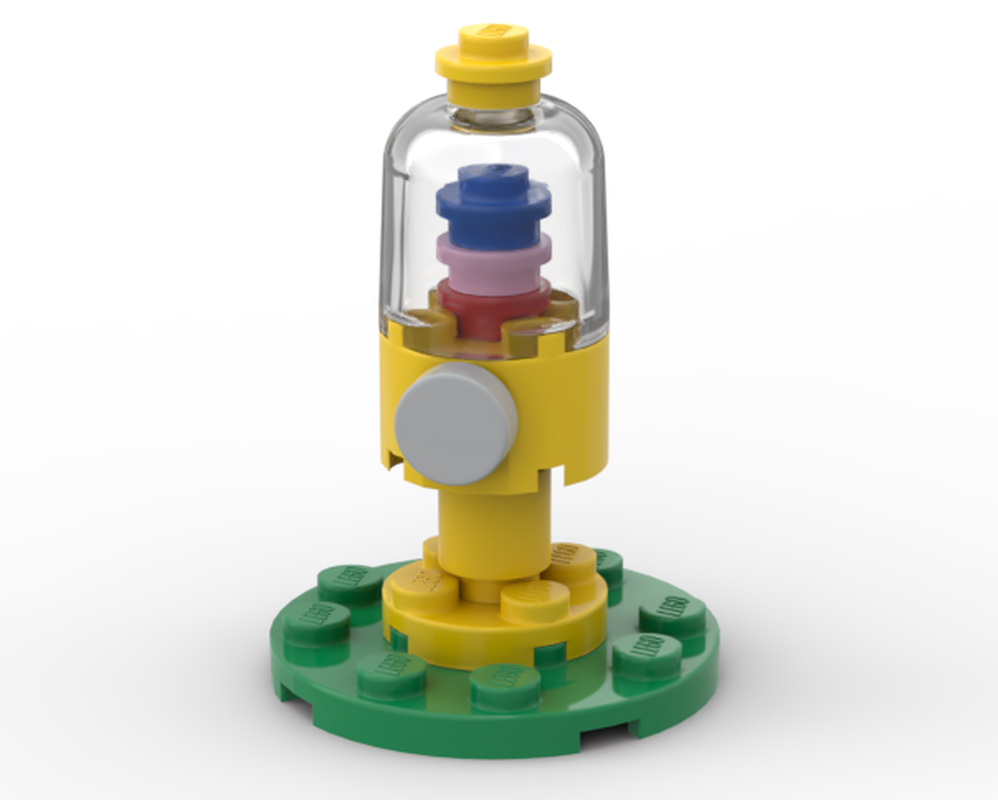
Designer: ORBcreations
Get the instructions: Yellow Gumball Machine by ORBcreations
Gumball machine
Designer: EBbuilds
Get the instructions: Gumball machine by EBbuilds
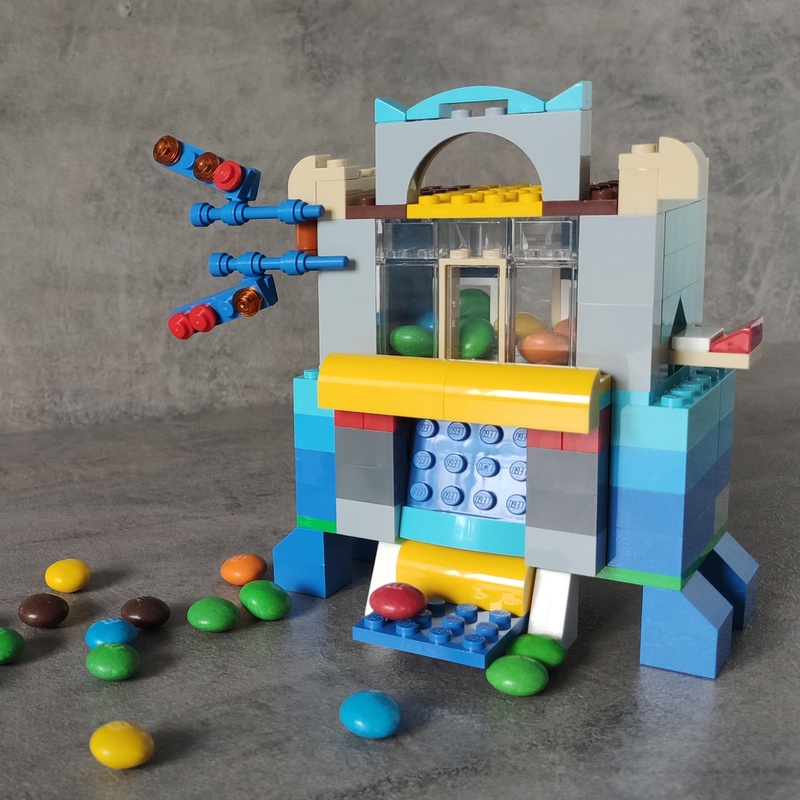
Candy Catapult

Designer: JKBrickworks
Get the instructions: Candy Catapult by JKBrickworks
10698 Candy Machine
Designer: LEGOidea
Get the instructions: 10698 Candy Machine by LEGOidea
Candy Machine

Designer: LEGOidea
Get the instructions: Candy Machine by LEGOidea
Candy Dispenser

Designer: Just_A_Builder
Get the instructions: Candy Dispenser by Just_A_Builder
Quick Build Checklist (copy/paste)
-
Prototype the mechanism first (2–3 colors, tiles on contact surfaces).
-
Test single-piece dispense before styling.
-
Add positive end-stops and a reset band.
-
Make a removable refill panel.
-
Finish with bright shell colors and a clear “globe.”

