7 Easy Steps to Paint LEGO Parts Like a Pro
Share
How to Paint LEGO Parts: A Comprehensive Guide
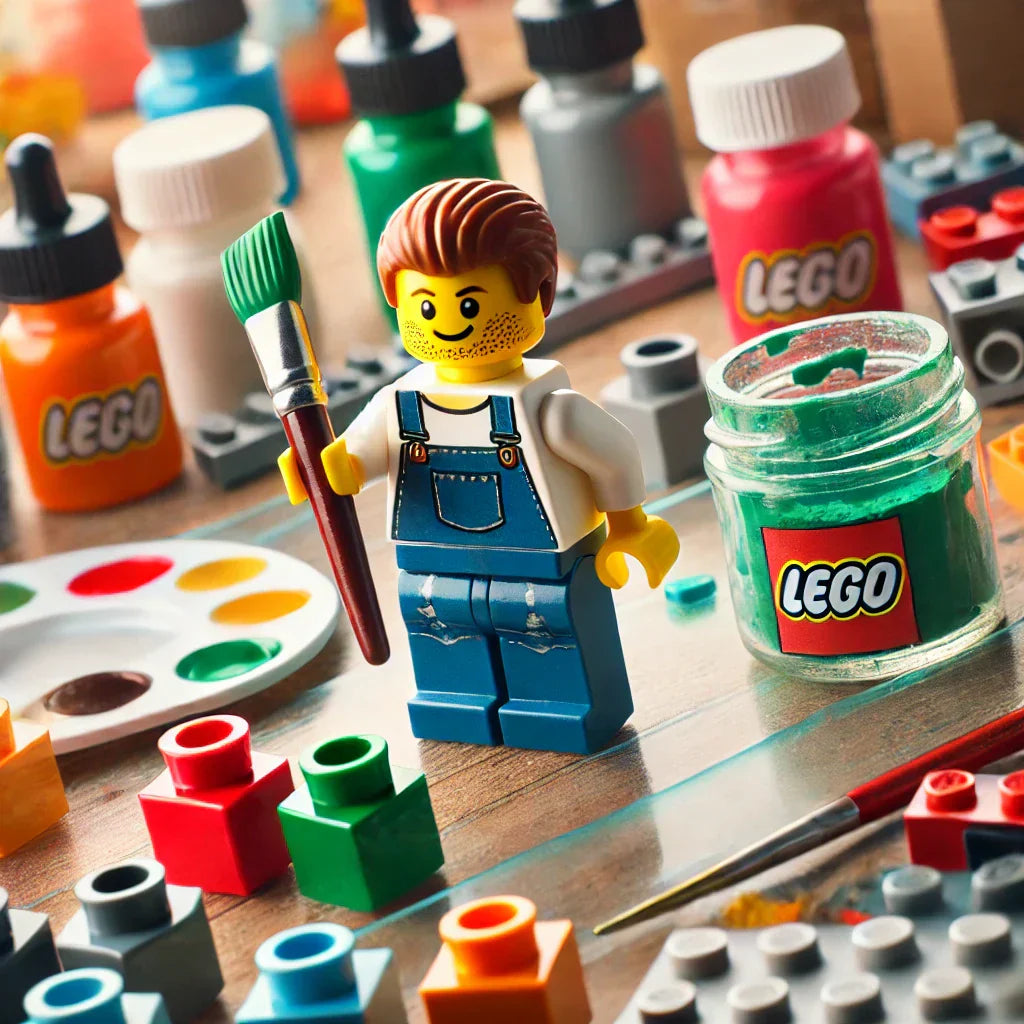
LEGO bricks are known for their colorful variety, but sometimes, you may want to personalize your LEGO creations by adding your own unique touches. Whether you’re enhancing your custom MOCs (My Own Creations) or trying to give your set a new twist, painting LEGO parts can be an exciting way to bring your ideas to life. In this guide, we’ll walk you through the process of painting LEGO pieces, from preparation to application, so you can achieve professional-looking results.
Why Paint LEGO Parts?
LEGO bricks are designed with vibrant, durable colors, but there are a few reasons you might want to paint them:
- Customization: You can create one-of-a-kind designs, such as custom logos, colors, or patterns for your MOCs.
- Restoration: Old or worn bricks may need a fresh coat of paint to restore their appearance.
- Special Projects: For unique builds, sometimes finding the exact right color is a challenge. Painting allows you to tailor the color palette.
- Creative Experimentation: Painting gives you freedom to experiment and personalize your builds.
Materials Needed
Before you start painting, gather the following supplies:
- LEGO Parts: The bricks or pieces you plan to paint.
- Primer: A good quality plastic primer is essential to help the paint adhere to the LEGO pieces.
- Paint: Use acrylic paints or spray paints that are suitable for plastic. Acrylics are popular because they dry quickly, are easy to apply, and come in a wide range of colors.
- Paintbrushes: Choose brushes with fine tips for detail work and wider brushes for large areas.
- Palette: For mixing your paint, a simple palette will do.
- Clear Coat (Optional): A clear acrylic sealer will protect your paint job and provide a glossy or matte finish.
- Painter’s Tape (Optional): Use it to mask off areas you don’t want to paint.
- Small Containers: To hold your paint or water for cleaning your brushes.
Step-by-Step Guide to Painting LEGO Parts
-
Preparation: Clean and Dry the LEGO Pieces
- Clean the LEGO bricks with warm water and a mild soap to remove any dirt, oils, or dust. Allow them to dry completely before proceeding.
- If there’s any residue or stubborn dirt, gently scrub with a soft brush.
-
Prime the LEGO Parts
- Before painting, apply a thin coat of plastic primer. Priming helps the paint adhere better and ensures a smoother finish.
- Use a spray primer for an even coat or a brush-on primer for more control. Be sure to let the primer dry for the recommended time (usually 30 minutes to an hour).
-
Choose Your Paint
- Opt for acrylic paint as it’s easy to work with, dries quickly, and provides a matte finish. If you need a glossy effect, a glossy finish acrylic paint or a clear glossy topcoat will work.
- You can also use spray paint for larger areas or more intricate designs. Just make sure you apply it in a well-ventilated area.
-
Apply the Paint
- Start by painting smaller, intricate details with a fine-tipped paintbrush. For larger sections, use a wider brush for more efficiency.
- Apply thin layers of paint rather than one thick layer. This will help avoid smudging or clumping.
- Allow each coat of paint to dry completely before applying additional layers.
- If you’re using spray paint, spray at a distance (approximately 12-18 inches) to avoid heavy buildup and ensure an even coat.
-
Detailing and Patterns (Optional)
- If your design includes multiple colors, use painter’s tape to mask off sections that shouldn’t be painted. This will help keep your lines clean and sharp.
- You can also use stencils to create more intricate patterns or logos.
- For extra details, use a fine brush to add highlights, shadows, or designs on your painted parts.
-
Sealing the Paint
- Once the paint has dried completely, apply a clear acrylic sealant to protect your work. This will provide a layer of protection and ensure the paint doesn’t chip off easily.
- Choose between a glossy or matte finish depending on the look you’re going for.
-
Allow to Dry
- Let your painted LEGO pieces dry fully. This can take anywhere from a few hours to a day, depending on the type of paint and environment.
Tips for Success
- Test First: Try painting a single LEGO piece before committing to a full set. This will give you a better understanding of how the paint adheres and dries on the bricks.
- Use Light Coats: Light coats prevent paint from becoming too thick or streaky. Build up the color gradually.
- Ventilation: Ensure the area you’re painting in is well-ventilated, especially if you’re using spray paints.
- Patience is Key: Allow sufficient drying time between each coat. Rushing the process can lead to smudging and mistakes.
- Careful Handling: Once painted, try not to handle the bricks too much until the paint has cured fully to avoid smudging.
Final Thoughts
Painting LEGO parts is a fantastic way to add personality to your creations. With a little patience, you can turn standard bricks into personalized works of art. Whether you're restoring old sets, creating unique custom MOCs, or simply adding some flair to a design, this simple technique opens up endless possibilities for customization.
Let your imagination run wild, and happy building!


